
To get your AWeber API key, log into your AWeber account. Then, navigate to the “Integrations” section and find the API key option.
AWeber is a powerful email marketing platform that helps businesses connect with their audience effectively. Accessing your AWeber API key is essential for integrating various applications and services with your email campaigns. This key allows developers to create custom solutions, automate tasks, and enhance their marketing strategies.
Whether you’re a small business owner or a seasoned marketer, understanding how to retrieve your API key can streamline your operations. This guide will walk you through the steps to acquire your AWeber API key, enabling you to leverage its full potential for your marketing needs.
Introduction To Aweber Api
The Aweber API allows developers to connect their applications with Aweber’s email marketing services. This connection helps automate tasks and manage subscribers efficiently. With the API, you can create, update, or delete subscriber information in real-time.
Using the Aweber API can enhance your marketing strategies. It provides a seamless way to access valuable data and insights. This can lead to better engagement and improved results.
Benefits Of Integrating Aweber Api
- Automated Processes: Save time by automating repetitive tasks.
- Real-time Data: Access up-to-date subscriber information instantly.
- Improved Analytics: Gather insights on campaign performance.
- Enhanced User Experience: Personalize communication with subscribers.
- Better Integration: Connect with other apps and tools easily.
Prerequisites For Accessing Aweber Api
To use the Aweber API, you need to meet certain requirements:
- Aweber Account: Create an Aweber account.
- API Key: Obtain your unique API key.
- Development Environment: Set up a coding environment.
- Basic Coding Knowledge: Familiarity with programming languages like PHP or Python.
Once you have these prerequisites, you can start leveraging the Aweber API for your projects.
Credit: newsletterglue.com
Creating Your Aweber Account
Setting up your Aweber account is the first step to getting your API key. Follow these simple steps to create your account quickly.
Signing Up For Aweber
To sign up for Aweber, follow these steps:
- Visit the Aweber website.
- Click on the “Sign Up” button.
- Fill out the form with your details:
- Name
- Email Address
- Password
- Review the terms and conditions.
- Click on the “Create Account” button.
Your account will be set up in moments. Check your inbox for a confirmation email.
Verifying Your Email
Verifying your email is crucial for your Aweber account. Follow these steps:
- Open the email from Aweber.
- Click on the verification link in the email.
- Your email will be verified instantly.
Once verified, you can log in to your Aweber account. Access your dashboard and find your API key.
Navigating To The Developer Section
Getting your Aweber API key is simple. Start by finding the Developer section in your Aweber account. This section holds the tools you need for integration. Follow these steps to locate it easily.
Locating The Developer Options
To find the Developer options, follow these steps:
- Log in to your Aweber account.
- Look for the “Account” tab on the top menu.
- Click on “Integrations” in the dropdown menu.
- Scroll down to find the “Developer” section.
Here, you will see various options related to API access.
Understanding The Developer Dashboard
The Developer Dashboard is your main hub for API management. It provides essential information for developers:
- API Key: Your unique key for accessing Aweber services.
- API Documentation: Guides and resources for using the API.
- Applications: Manage your applications linked to Aweber.
Check the API Key section. It might be empty if you haven’t created one yet.
| Item | Description |
|---|---|
| API Key | Your access code for Aweber API. |
| API Documentation | Guides to help you with API usage. |
| Applications | Manage linked applications easily. |
Understanding this dashboard helps you navigate your API needs effectively.

Credit: api.aweber.com
Initiating Your New Application
Starting your application for the AWeber API is simple. Follow these steps to ensure you get your API Key quickly and easily. You will fill out application details and set up a callback URL.
Filling Out Application Details
To begin, visit the AWeber Developer Portal. Here, you will find the application form. Fill out the required fields as follows:
- Application Name: Choose a unique name for your app.
- Application Description: Provide a brief overview of your app.
- Application Website: Enter your website URL.
- Contact Email: Include an email for communication.
Once you complete the form, check all details. Ensure accuracy before submitting. This will help avoid any delays.
Setting Up The Callback Url
The callback URL is crucial for your application. It tells AWeber where to send responses. Follow these steps to set it up:
- Navigate to the “Callback URL” field in the application form.
- Enter the URL where you want to receive data.
- Make sure the URL is secure (https://).
Once you have entered the callback URL, double-check its accuracy. This ensures that AWeber can communicate with your application properly.
Obtaining The Aweber Api Key
Getting your Aweber API key is essential for integrating Aweber with other applications. This key allows you to access your account data securely. Follow these steps to generate and secure your API key.
Generating The Api Key
Generating your API key is a straightforward process. Follow these steps:
- Log in to your Aweber account.
- Navigate to the Account Settings tab.
- Select API Keys from the menu.
- Click on the Create a New Key button.
- Fill in the required information.
- Click Save to generate your key.
Your new API key will appear on the screen. Make sure to copy it immediately. You won’t be able to see it again later.
Securing Your Api Key
Securing your API key is crucial for protecting your account. Here are some tips:
- Store it securely: Use a password manager or encrypted file.
- Limit access: Share it only with trusted developers.
- Regenerate keys: Change your key regularly for added security.
Never expose your API key in public areas. This includes forums, GitHub, or any public code repository. Always treat it like a password.

Credit: help.aweber.com
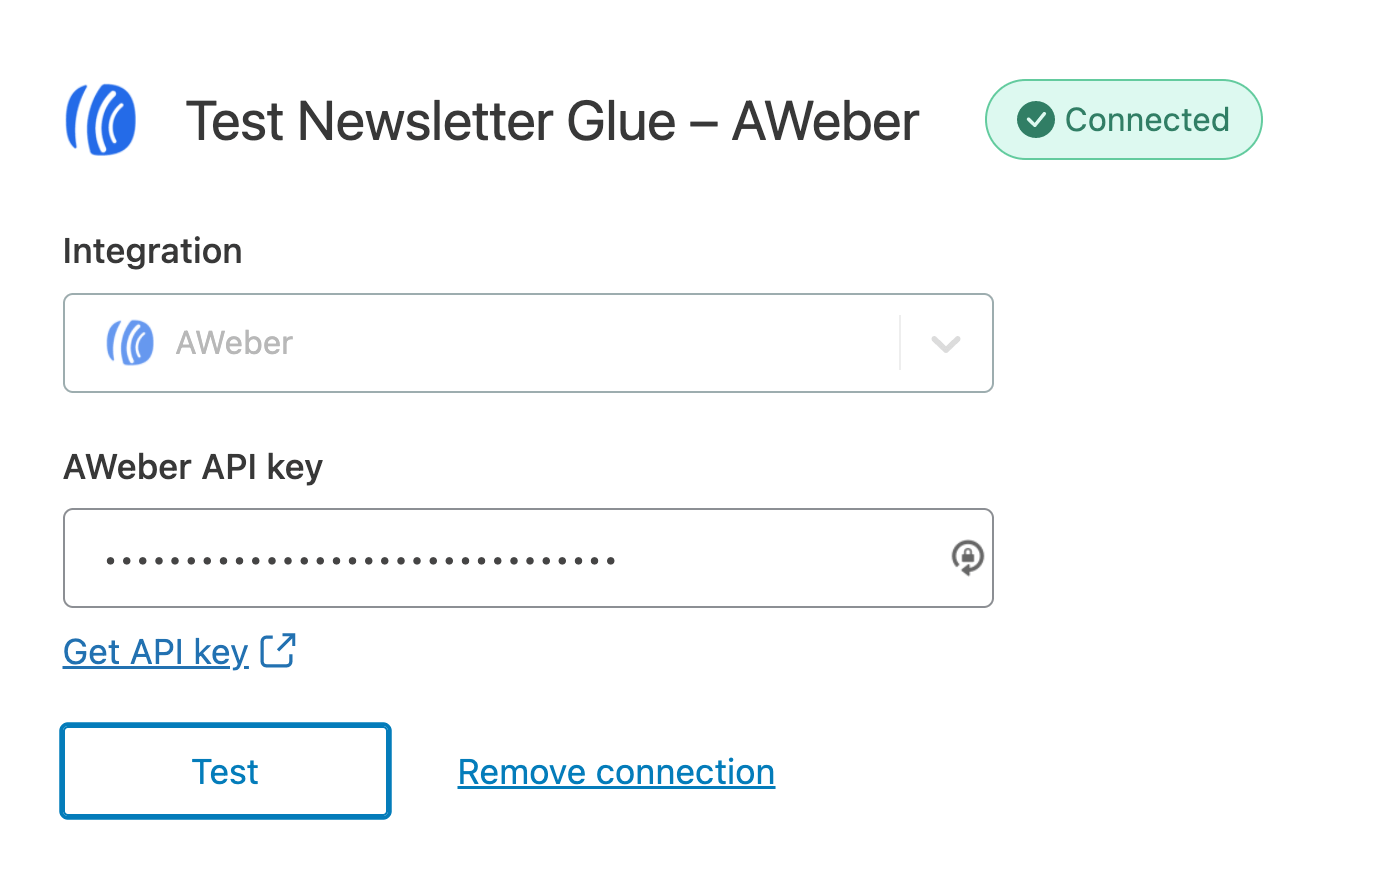
Testing Your Aweber Api Key
Testing your Aweber API Key is crucial. It ensures your application connects correctly to Aweber’s services. With proper testing, you can identify any issues quickly.
Using Postman For Testing
Postman is a powerful tool for testing APIs. Follow these steps to test your Aweber API Key:
- Open Postman and create a new request.
- Select the method: GET.
- Enter the API URL: https://api.aweber.com/1.0/accounts.
- Add your API Key in the headers.
- Key: Authorization
- Value: Bearer YOUR_API_KEY
- Click Send.
Check the response. A successful response will show account details. Errors indicate problems with the key or setup.
Troubleshooting Common Errors
Encountered an error? Here are common issues and solutions:
| Error Message | Possible Cause | Solution |
|---|---|---|
| 401 Unauthorized | Invalid API Key | Check your API Key. |
| 403 Forbidden | Insufficient permissions | Verify your account permissions. |
| 404 Not Found | Incorrect API endpoint | Check the API URL. |
| 500 Internal Server Error | Server issue | Try again later. |
Follow these steps to fix errors. Always double-check your Aweber API Key and settings.
Integrating Aweber Api With Your Application
Integrating the Aweber API with your application opens new possibilities. It allows seamless email marketing and automation. This section will guide you through the integration process. Follow these steps to connect Aweber with your application effectively.
Step-by-step Integration Process
- Create an Aweber Account: Sign up on the Aweber website.
- Access the API: Go to your account settings. Find the API section.
- Generate the API Key: Click on “Create API Key.” Write down the key.
- Choose Your Programming Language: Select a language for integration. Popular options are Python, PHP, and JavaScript.
- Install Required Libraries: Use libraries for HTTP requests. For example:
pip install requests // For Python - Write Your Integration Code: Use the API key in your application. Here’s a simple example:
import requests api_key = 'your_api_key' url = 'https://api.aweber.com/1.0/accounts' response = requests.get(url, headers={'Authorization': f'Bearer {api_key}'}) print(response.json()) - Test Your Integration: Run your application. Check for errors and debug if necessary.
- Monitor Performance: Use Aweber analytics to track your email campaigns.
Best Practices For Integration
- Keep Your API Key Secure: Never expose your API key in public code.
- Use Environment Variables: Store your key in environment variables.
- Handle Errors Gracefully: Implement error handling in your code.
- Rate Limit Your Requests: Avoid hitting API limits. Use delays if needed.
- Regularly Update Your Code: Keep your integration up-to-date with API changes.
- Review Documentation: Regularly check Aweber’s API documentation for updates.
Managing Your Aweber Api Key
Managing your Aweber API key is essential for secure access. This key connects your applications with Aweber. Understanding how to handle it properly keeps your data safe.
Renewing Your Api Key
Renewing your Aweber API key ensures continued access. Follow these steps:
- Log into your Aweber account.
- Go to the “Account” tab.
- Select “API Keys” from the menu.
- Click on the “Renew” button next to your key.
- Follow the prompts to generate a new key.
Store the new key securely. Update your applications with this new key.
Revoking Access When Necessary
Revoking access to your API key is crucial for security. Follow these steps:
- Log into your Aweber account.
- Navigate to the “Account” tab.
- Select “API Keys.”
- Find the key you want to revoke.
- Click “Revoke” next to the key.
This action immediately stops access. Use this option if you suspect any unauthorized use.
Frequently Asked Questions
How Can I Find My Aweber Api Key?
To find your Aweber API key, log in to your Aweber account. Navigate to the “Account” section and select “API Keys. ” Here, you will see your existing API keys or have the option to create a new one. Ensure you keep it secure for future use.
What Is The Purpose Of The Aweber Api Key?
The Aweber API key is used for authenticating requests to the Aweber API. It allows developers to integrate Aweber’s functionalities into applications. This key ensures that only authorized users can access your account data. It’s essential for tasks like managing subscribers and sending campaigns.
Can I Create Multiple Api Keys In Aweber?
Yes, you can create multiple API keys in Aweber. This feature allows different applications or developers to access your account independently. Each key can have specific permissions based on its intended use. Managing multiple keys helps improve security and organization.
Is The Aweber Api Key Secure?
Yes, the Aweber API key is designed to be secure. However, it’s crucial to store it safely and not share it publicly. If compromised, unauthorized users could access your account. Regularly updating your API key can also enhance security.
Conclusion
Acquiring your AWeber API key is a straightforward process. With this key, you can enhance your marketing efforts significantly. Following the steps outlined in this guide ensures you can integrate AWeber seamlessly with your applications. Start leveraging the power of AWeber today to improve your email marketing strategy effectively.