
Welcome! Today, we will learn about creating a Nextiva account. Nextiva is a service for phone calls and messages. It is useful for businesses and individuals. Let’s start the journey to make your account.
What is Nextiva?
Nextiva is a phone service. It helps people talk to each other. Many businesses use Nextiva for communication. It is simple and easy to use. You can call and send messages using Nextiva.
Why Use Nextiva?
Nextiva is popular for many reasons. It has clear voice quality. It is affordable. You can use it on your phone or computer. Nextiva also offers support if you need help.

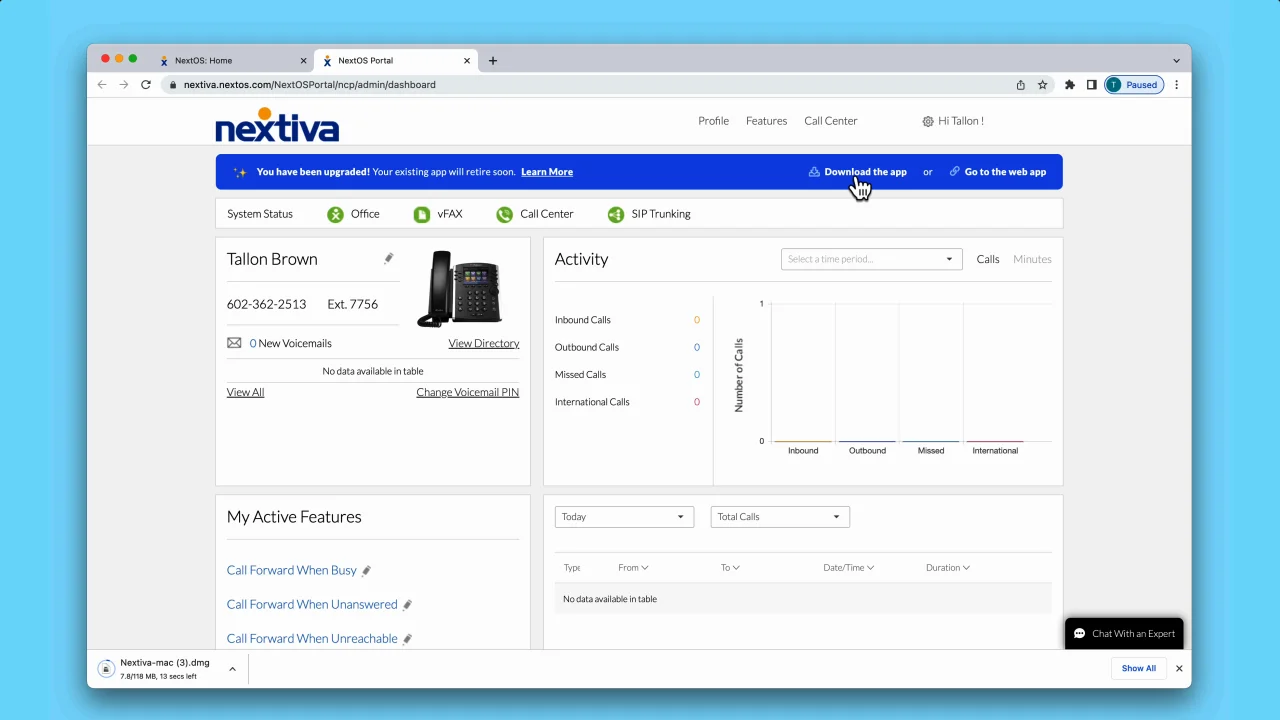
Credit: www.facebook.com
Steps to Create a Nextiva Account
Follow these steps to make your account. It is easy and quick. Let’s begin!
Step 1: Visit The Nextiva Website
First, go to the Nextiva website. Open your web browser. Type www.nextiva.com in the address bar. Hit enter. The homepage will appear.
Step 2: Find The Sign-up Button
Look for the sign-up button. It is usually at the top. The button says “Sign Up” or “Get Started”. Click on it. This will take you to the registration page.
Step 3: Fill In Your Details
On the registration page, you will see a form. Fill in your information. Here is what you need to provide:
- Your first and last name
- Your email address
- A password for your account
- Your phone number
Make sure your details are correct. Check them twice before moving on.
Step 4: Choose Your Plan
Nextiva offers different plans. Choose the one that fits you best. Plans may have different features. Pick a plan that matches your needs. You can upgrade later if needed.
| Plan | Features |
|---|---|
| Basic | Simple calls and messages |
| Pro | Advanced calling features |
| Enterprise | All features and support |
Step 5: Provide Payment Information
Now, it is time to enter payment details. You can pay by credit card. Sometimes, Nextiva offers a free trial. If available, you can try it without paying first.
Step 6: Confirm Your Account
After providing payment details, you need to confirm your account. Nextiva will send a confirmation email. Open your email inbox. Look for the email from Nextiva. Click the link inside to confirm.
Step 7: Start Using Nextiva
Once confirmed, your account is ready. You can now log in to Nextiva. Use your email and password to sign in. Start making calls and sending messages.
Tips for Using Nextiva
Here are some tips to help you use Nextiva:
- Explore the features. See what tools are available.
- Set up your contacts. Add people you call often.
- Use the help section. It is there if you have questions.
- Keep your app updated. This ensures it works well.
Common Problems and Solutions
Sometimes, you may face issues. Do not worry! Here are some common problems and how to fix them:
Problem: Can’t Log In
Solution: Check your email and password. Make sure they are correct. If you forgot your password, click “Forgot Password” to reset it.
Problem: Poor Call Quality
Solution: Check your internet connection. A strong connection is needed for clear calls. Try restarting your device if needed.
Problem: No Sound
Solution: Make sure your device’s volume is up. Check the sound settings in the app. Ensure your microphone is working.
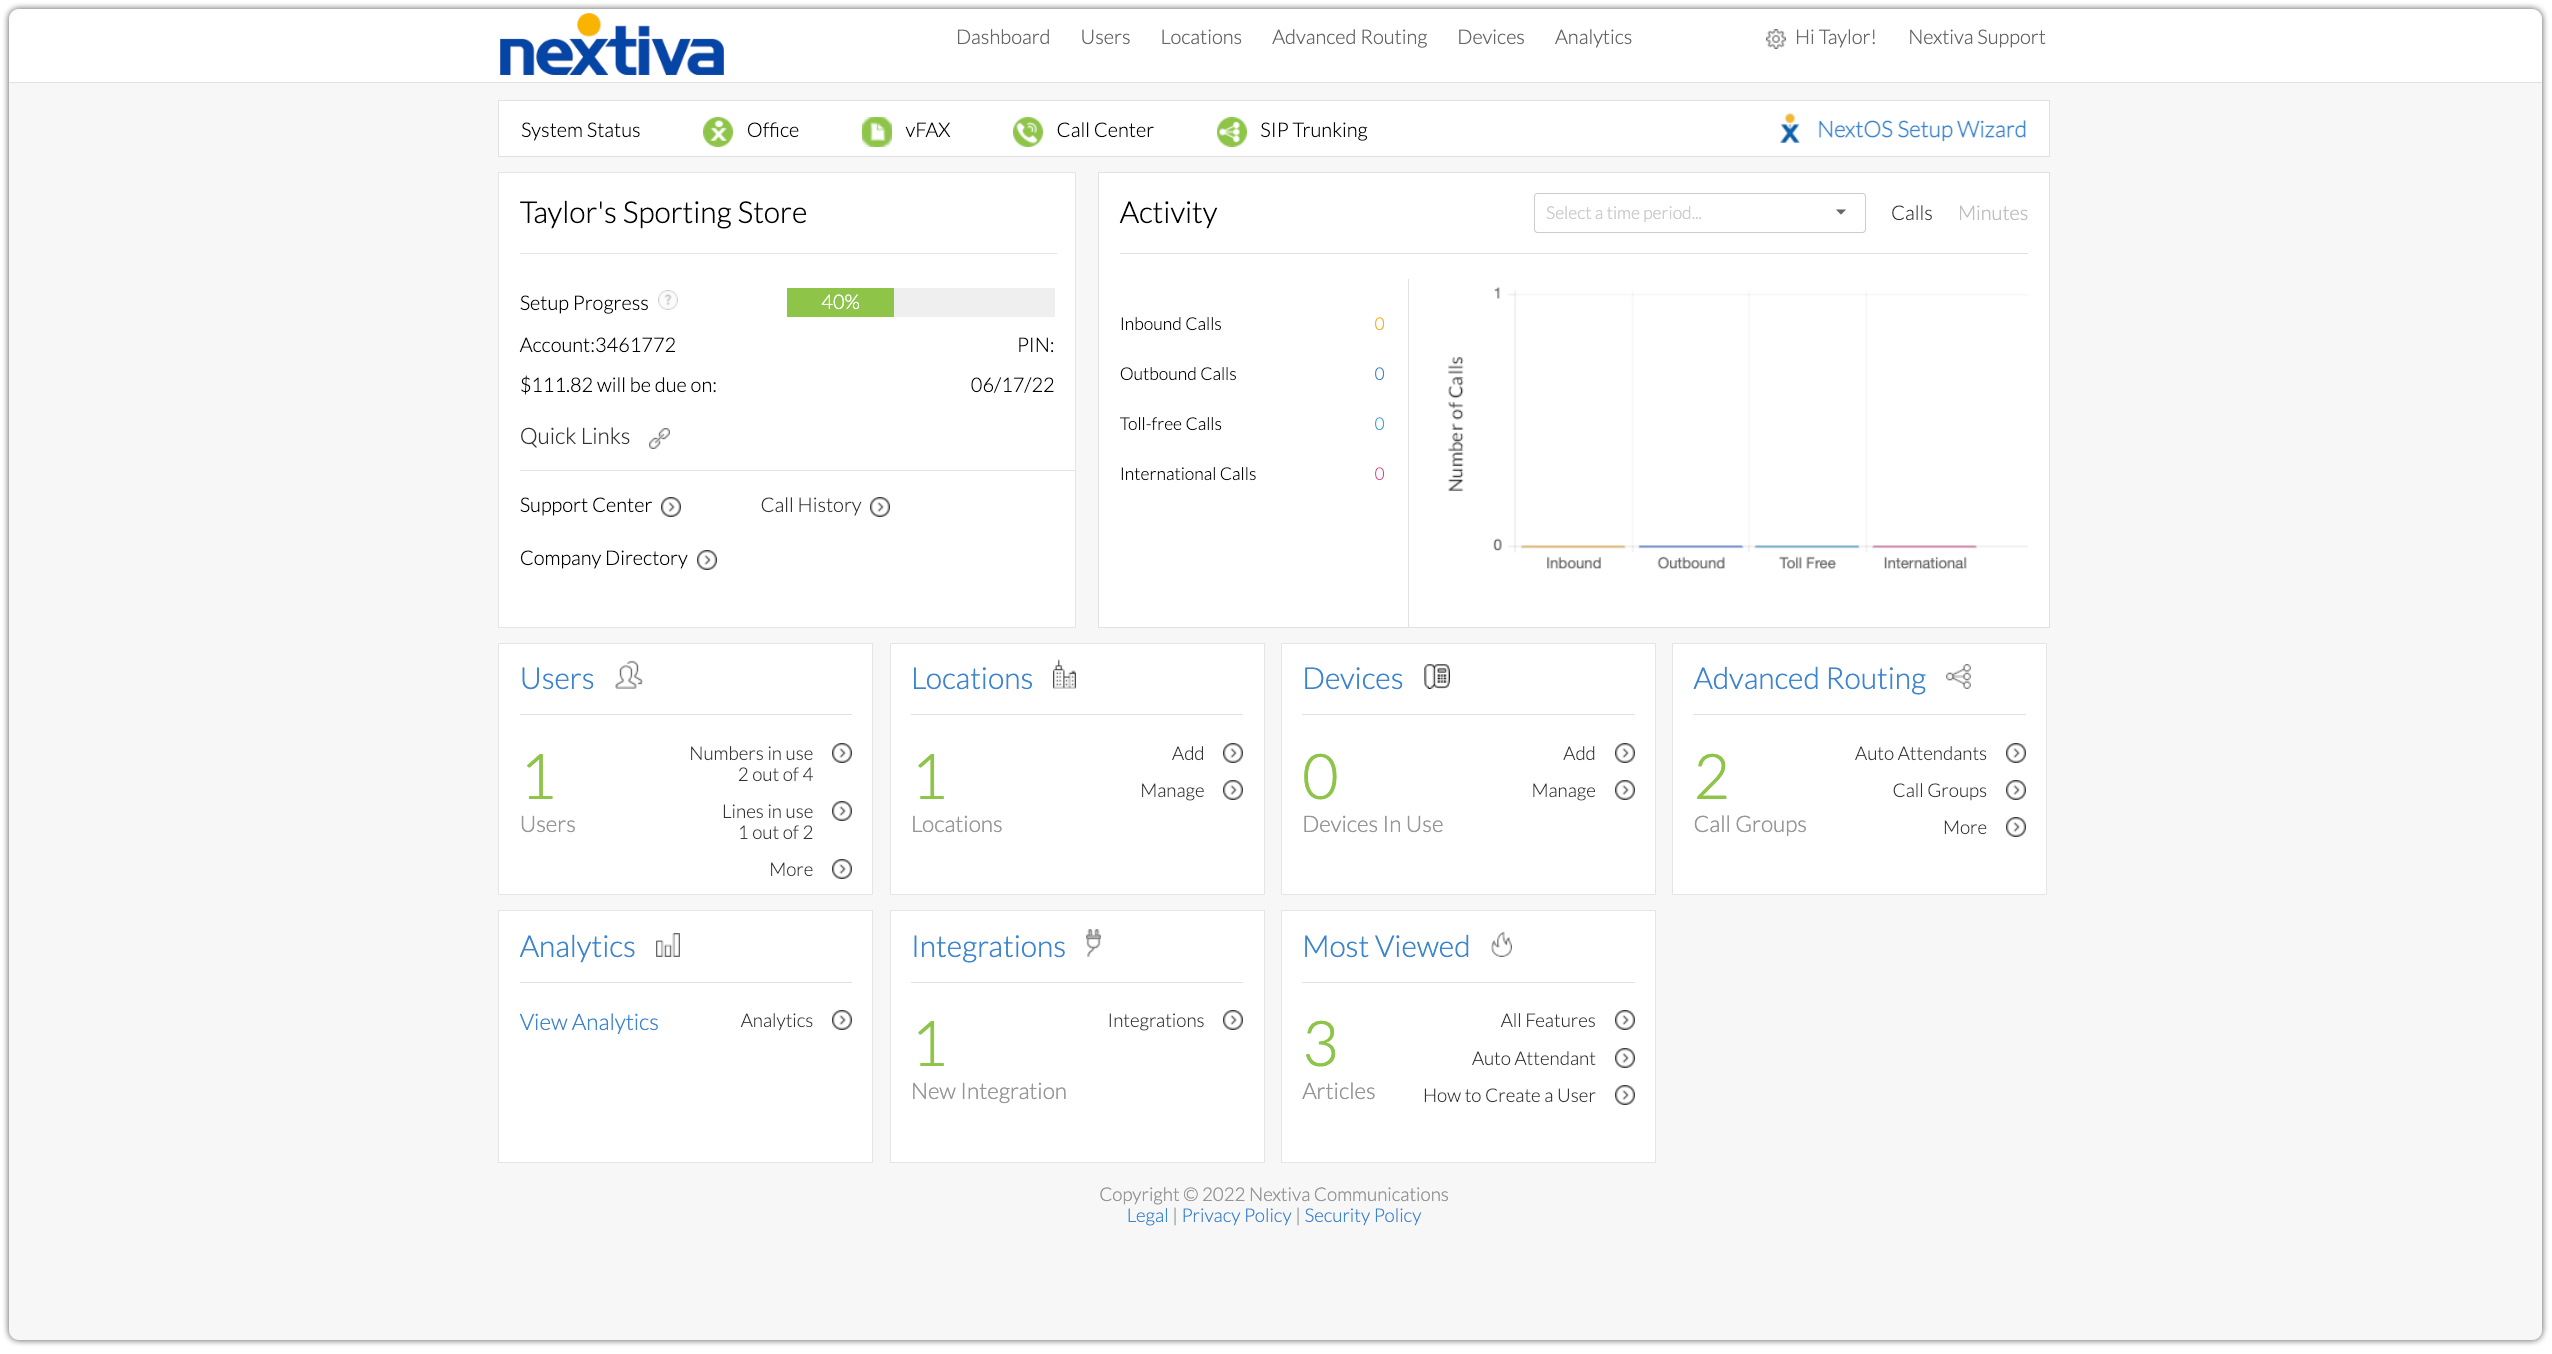
Credit: www.nextiva.com
Frequently Asked Questions
How Do I Sign Up For A Nextiva Account?
Go to Nextiva’s website. Click “Sign Up”. Fill out the form. Submit your details.
What Information Is Needed To Create A Nextiva Account?
You need your name, email address, and contact number. These are essential to complete your registration.
Can I Use Nextiva On My Smartphone?
Yes, Nextiva offers a mobile app. Download it from your app store. Log in using your account details.
Is Nextiva Suitable For Small Businesses?
Absolutely. Nextiva provides scalable communication solutions. Perfect for businesses of all sizes. It grows with your needs.
Conclusion
Creating a Nextiva account is simple. Follow the steps and tips above. Soon, you will be making calls and sending messages. Enjoy using Nextiva for your communication needs. Thank you for reading!